Any project begins with where you leave off. Knowing what to do next often takes longer that the rest of the work. I spent considerable time researching and learning. I could not be where I am today with this one without a the generous contributions of few predecessors reference here.
This is Part 2 of a series archiving my participation in a President’s Research Project Grant at Oral Roberts University as a graphic design professor in the Theatre, Dance and Visual Arts Department. The project outline provides access to the complete process.
- Introduction
- Research and needs assessment
- Ideation and planning
- Prototyping and testing
- Press construction
- Testing and improvements
- Print content
- Print Process
- Conclusion
History
I have wanted to screen print after being exposed to it as part of art club in the sixth grade. None of could use an X‑acto knife on rubylith curves, so we went a little punk on our t‑shirt design. All through art school, I never had a chance to screen print, until my wife bought me a Speedball starter kit. With some quick success, I tried to branch out farther and with a larger size. I found some old screens (always the cheapskate) and tried to re-stretch them. Bad idea. My tension was poor, and my mesh too porous for paper. When things did print correctly, it was out of register. I spent a lot of time on the internet, because it fit my schedule. I should have just asked someone, but did not really know who as I was a new face in a big city. I finally found the Gigposters.com Screenprinting forum. Unfortunately, after a run of many years the page is no longer active, but portions live on in archival form.

PNG: Counter: Stymie Family, paper, serigraphy, letterpress 5″ x 7″ (11″ x 14″ framed) 2014
It was at gigposters that I finally learned to print. With help form Andy MacDougal, Andy at Diesel Prints, SqueegeeThree and countless others, I learned the basics, plus the nuances of off contact, ink viscosity and print settings for film positives. I also realized I needed some new equipment. So in 2013, I applied for and received an faculty research grant and purchased new screens. It worked and so did I, producing the foundation of the Persona non Grata series.
Getting Serious and Scaling Up
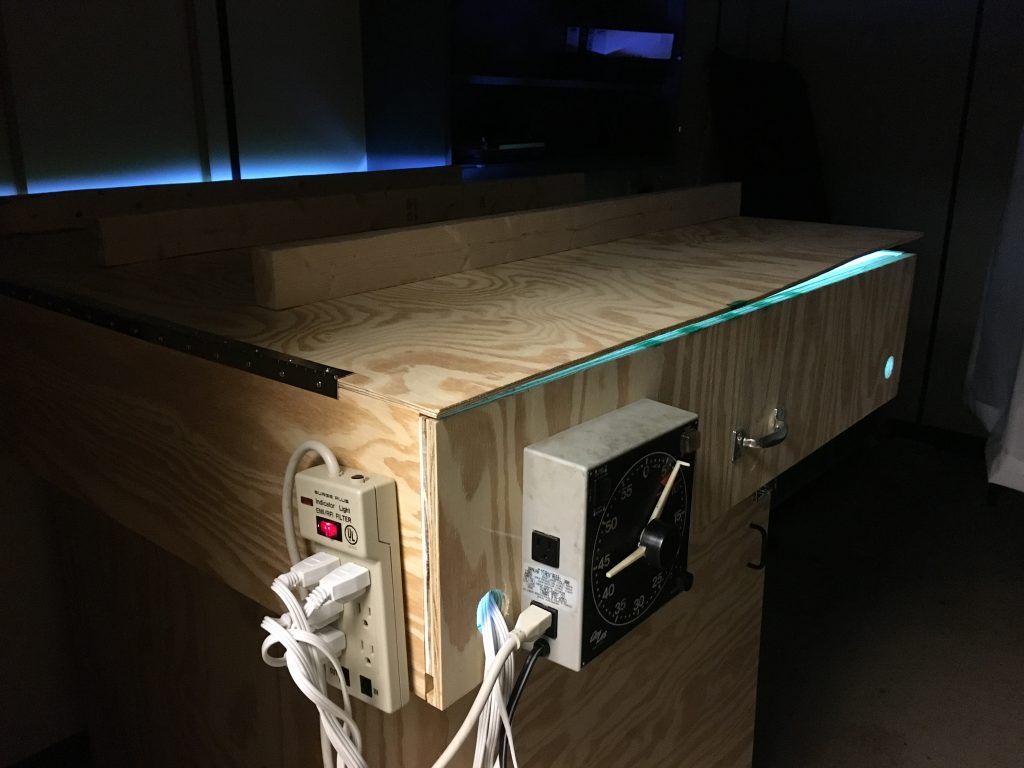
In the spring on 2017, I was asked to teach an ad hoc screen printing course. With over 20 students registered, I needed accessible, simple and repeatable solutions for the process. I was able to utilize some unused darkroom and graphics production spaces from the late 1980’s at the university to create a semi-dark room, washout area, drying cabinet and exposure unit. It was during this time, I began to think large, and planned for the future possibility of printing up to a 48 x 36 in screen.
A quick shot of large format light table based on Peter Mars and dave @ confusement.com.
In summary, my current print setup:
- Screens from Victory Factory, Dick Blick and Graphic Solutions Group, all 230 tpi yellow.
- Emulsion: Ulano LX-660 water based dual cure
- Scoop coaters from Victory Factory.
- A customized version on Andy MacDougal’s Rabbit Press (Alternate Images) found in Screenprinting Today.
- Ulano No. 4 Emulsion Remover.
- Found AWT rubber squeegees, and Medium, 70 durometer, squeegees from Victory Factory.
- Formerly Cougar and Accent Smooth Cover 110# card stock from Veritiv.
Lessons from Current Set Up
For smaller students, the leverage angles and forces needed to produce an adequate poster sized print were too great. At 6′, I even fatigued after about a 100 impressions. Some of the observed quality issues were due to screen size and poor exposure, but consistency of the print stroke was obvious once other variables were removed. Precise registration is difficult as small adjustments become hard to manage 3–4 feet from the pivot point of the screen and registration clamps.
Large Format Press Options
I was initially surprised at how many choices existed for a large format press. These broke down into two main categories: the semi-auto and the manual. The semi-auto provided the energy and forces to prevent fatigue and ensure consistency over a manual print, but was difficult to house and support due to its necessary electrical requirements (often 220v). Likewise, the bed size was often slightly smaller than was ideal for poster printing. Operation would require a degree of safety training that young students may find too onerous.
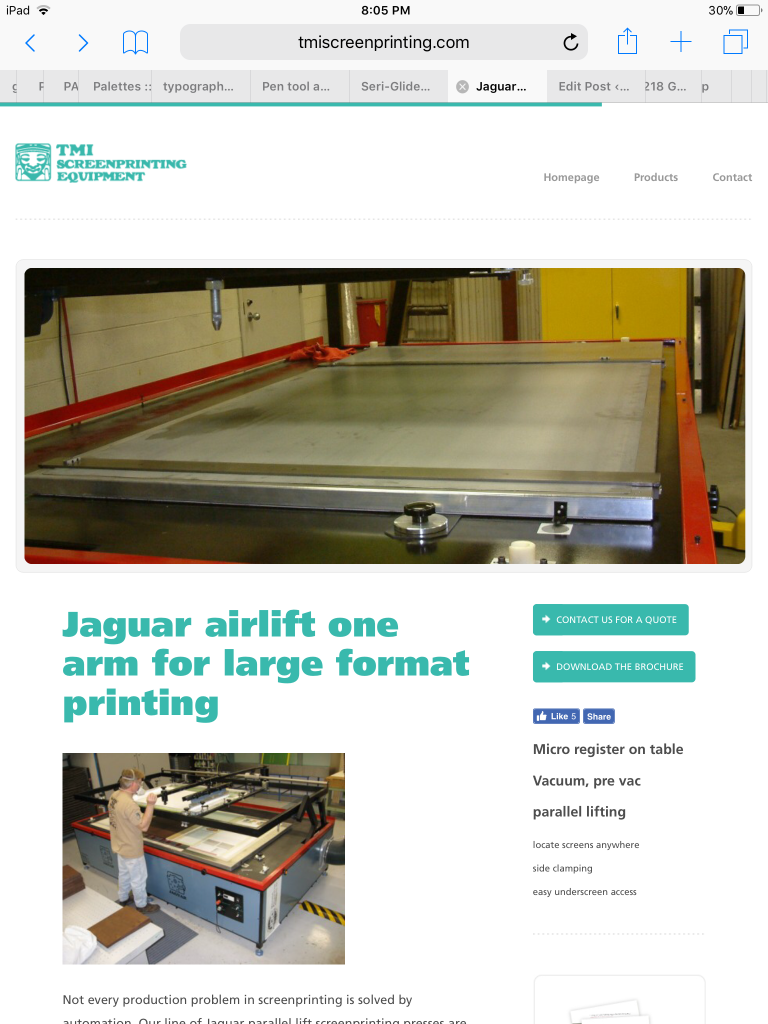 Image courtesy of TMI Jaguar
The manual press category provided some degree of operability by a wide range of human sizes and strengths, plus an ability to pull a 5 x 10 foot or larger print. Registration options were understandable and utilitarian. Operation was much slower, but the risk of danger was well reduced and an option for a wide range of people. For the limited number of impressions I was needing, this seemed like a nice option.
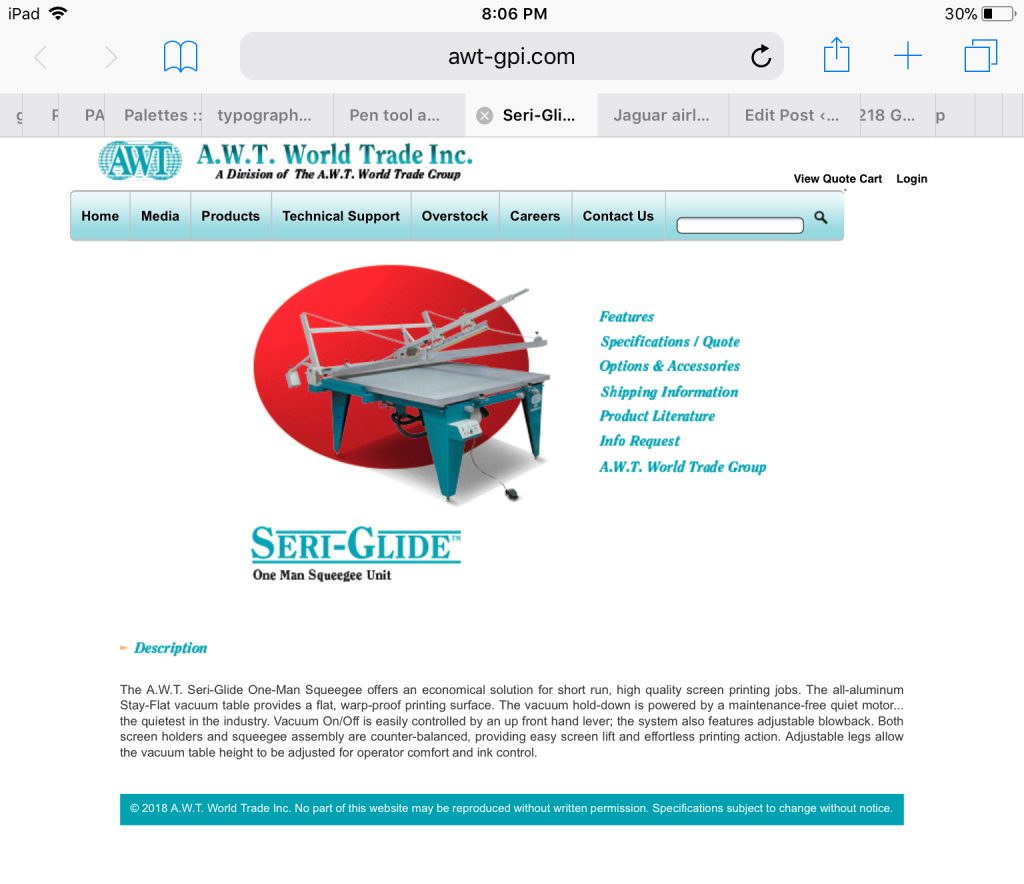 Image courtesy oh AWT.
Practical Realities
The deal breaker, however, was cost. I was surprised at the cost for these presses, but understood the market demand for industrial scale manufacturing and large format screen printing presses don’t really have a large intersection. I did not feel I could justify the expenses with my or the schools’ money for the periodic use in class and research. I began to look for, in classic American style, a DIY solution to provide a higher level of printing than I had, but at a more reasonable cost.
 Screenshot of Paul Cretin webpage demonstrating press construction.
I searched to web, yet again, looking for what I needed from the distant past on Gigposters. About this time, I also realized it was no longer up, but was able to retrieve some bookmarks from my browser. I found Paul Cretin’s one arm press post in several places. I read some, and then went back and read some more (PDF TO ARCHIVE AM comments later page) to understand the nuances. Many manual presses utilize the linear roller bearing track as the primary printing mechanism. The major differences stemmed from the ability to raise and lower the screen in a clamshell motion or in a parallel lift fashion. Parallel lift seemed to provide the best results.
One last Surprise
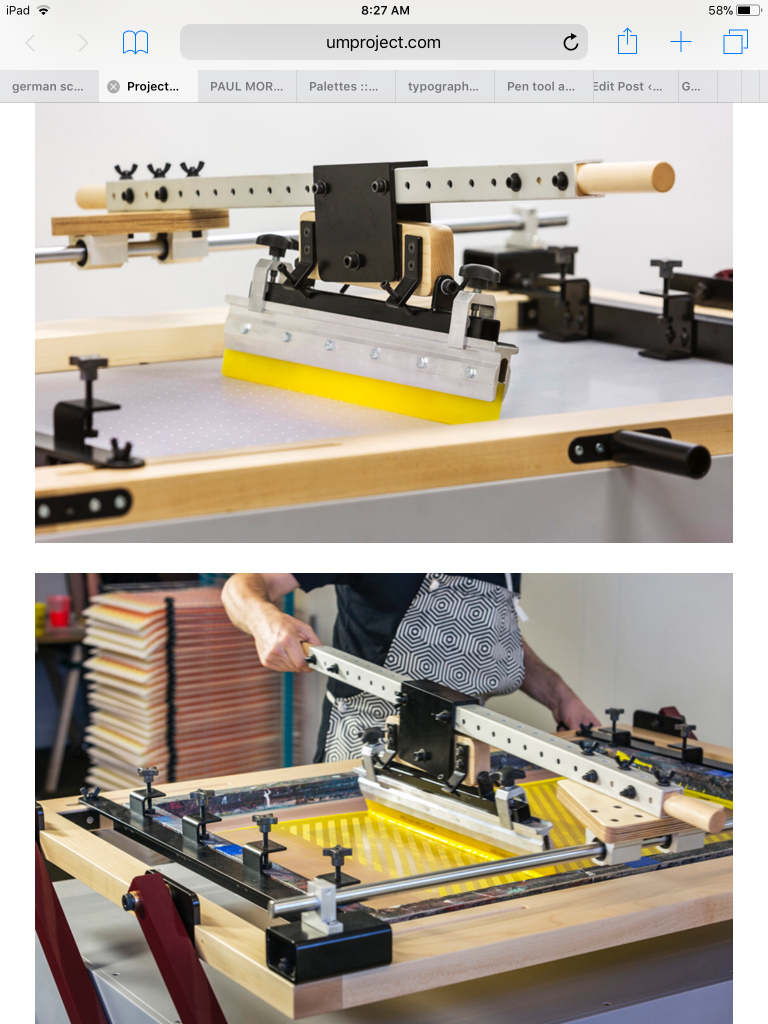
A few day of persistent searching (ok, on Pinterest, I like pictures ok … ), revealed an option as beautiful as it was practical. The Museum of Arts and Design had collaborated with the UM Project to produce a press that seemed to fit my needs and skill level. I determined I could adapt this basic design, thanks in large part to the wonderful pictures and video on their site. I would make a working man’s version, hoping to utilize the best of the big box hardware stores without sacrificing too much quality.
 Screenshot of The Print Shop at MAD website.
Once I figured it out, I wanted to do more. Next, Part 3, the planning stage.